OTC Hair Care from the Grocery Aisle

Rx: Yogurt Honey Hair Mask 

Sig: Apply weekly as needed for dry, dull hair or flaky, itchy scalp

Quantity: 1

Ingredients:

  • 1/2 cup yogurt
  • 3-4 Tbsp honey
  • 2 Tbsp olive oil
  • optional: 1 egg yolk

Instructions:

  • Whisk ingredients together
  • Apply mask to hair and scalp
  • Tie hair up in a bun of some kind
  • Wrap in towel or put on a shower cap (optional)
  • Leave in 20-30 minutes
  • Rinse, shampoo

Here are a few quick tips and explanations:

The yogurt and egg add lots of proteins.  Yogurt can help pull away flakes from the scalp, as well. Make sure to get full fat yogurt, for best results.

Honey adds and helps seal in moisture.

Olive oil helps make the hair extra soft.

Covering the hair helps the mask do a better job.

I usually wash my hair then do the mask, then shampoo it again (I use a sulfate-free shampoo). You can do the mask first, then shampoo and condition, if you want.

Substitutes: 

  • yogurt- coconut milk
  • olive oil- avocado oil

I love this recipe and use it weekly, although you can use it less often, if you want. I have all these ingredients at home already. I just make sure to grab extra some yogurt when I’m out shopping. This mask keeps my hair soft and my scalp happy. Pamper yourself this week, and don’t forget to let us know how you liked it!

Eatin’ Good Ain’t Illegal

As a student going through another round of professional school, I am a professional broke college student. I like cooking, and I don’t like getting fat off fast food, so I’ve learned to cook at home. The freshman 15 are real, and so are the grad school 30! Because of this, I have a few great recipes that I can throw together myself any time. 

These recipes I’ll share with y’all are easy, take about 30-45 minutes each, and last days. Also, the ingredients are versatile, so you can buy them in bulkier quantities to use in other recipes you like.

These recipes will be in a series. I will have a minimum of two recipes in each post. There will be five topics: ground beef, rotisserie chicken, salmon, vegetarian, and breakfast. (You can substitute the salmon for any fish you like, of course. Its expensive!) I hope you in enjoy this little series in my life section, and please comment to tell us how you have or will modify these recipes!

Let’s start with ground beef! Ground beef is a staple in many households. Its cheap, easy to prepare, and versatile. Here are just a couple recipes that are great as meal prep aka leftovers.
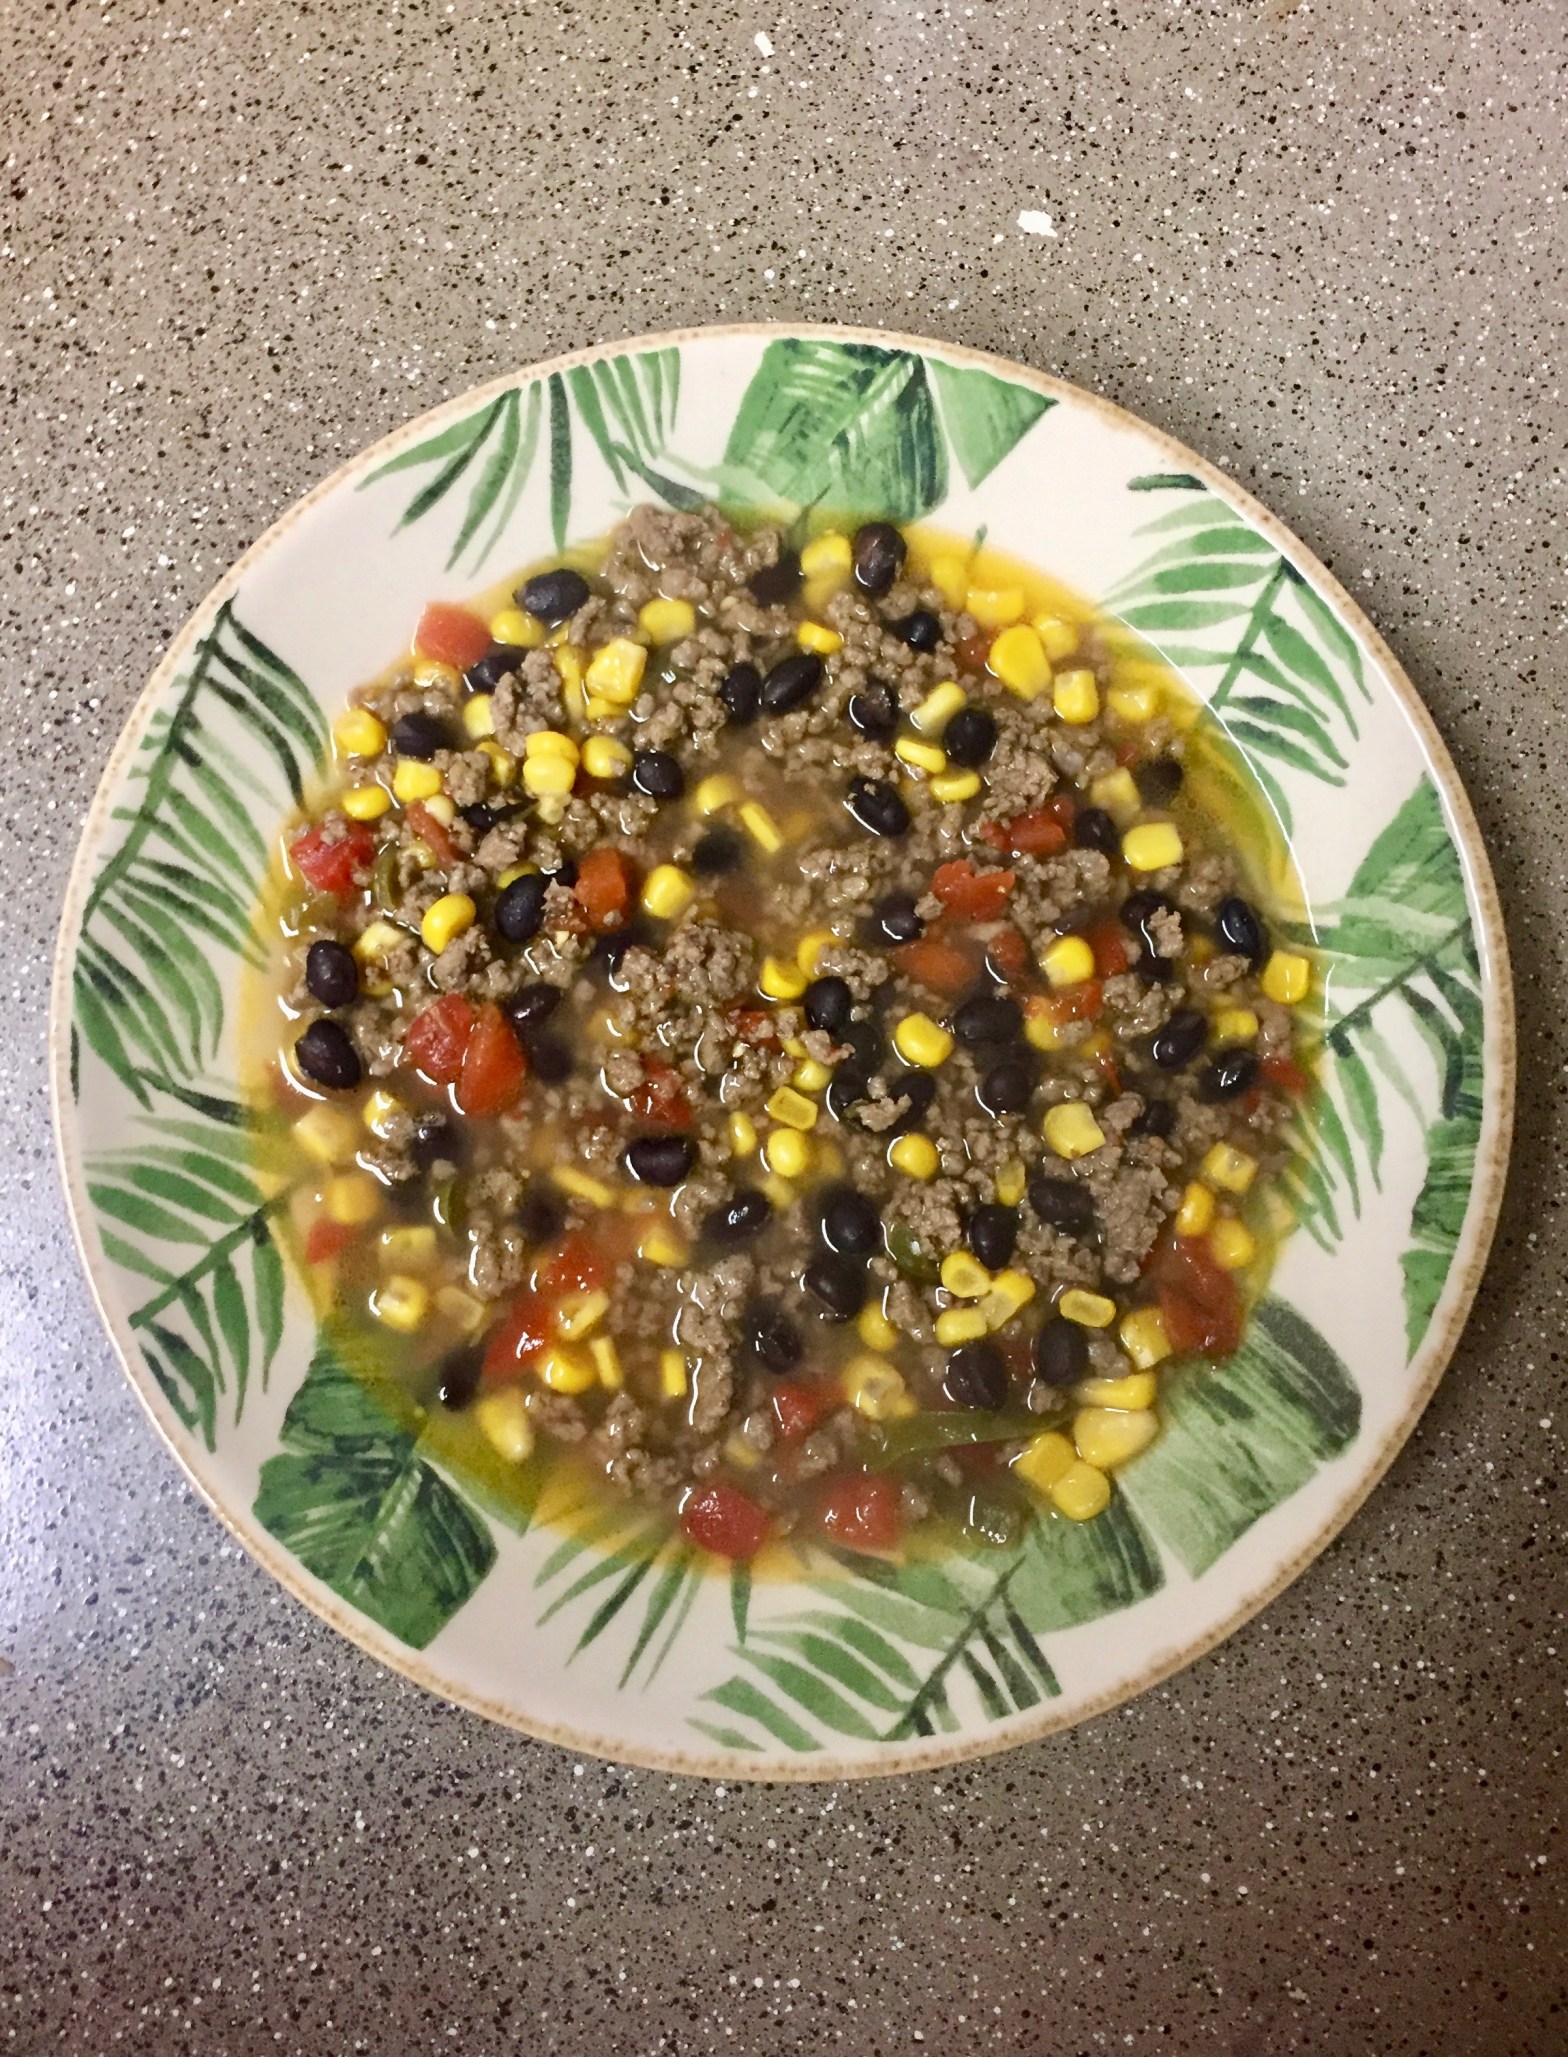
Taco soup

Whole recipe 

  • 2lbs ground beef
  • 2 (32oz) boxes chicken broth
  • 1 can corn
  • 1 can black beans (rinsed)
  • 1 can Rotel
  • 2 Tbsp diced (pickled) jalapeños 
  • Taco seasoning 

Half recipe

  • 1lb ground beef
  • 1 box chicken broth
  • 1/2 can corn
  • 1/2 can black beans (rinsed)
  • 1/2 can Rotel
  • 1 TBSP diced (pickled) jalapeños 
  • Taco seasoning 

Toppings:

  • sour cream or creama
  • lettuce
  • tortilla chips/strips
  • avocado
  • cheese
  • cilantro
  • lime juice

Directions:

Start with the ground beef. 

Season it with taco seasoning. 

I usually season until it looks like too much, then put more. Basically, give the meat a layer of seasoning thick enough to not be able to see the meat anymore. Cook the meat until there’s no more pink. (Medium-medium high heat.) When its done, drain the grease from the meat. You can do this by dumping it into a big bowl lined with paper towels, or use any kitchen gadgets you have like a strainer. Just don’t pour hot grease down the kitchen sink!

(You can absolutely cook down some (1/2-1 whole, diced) onion first, then add in the meat. I just don’t like onions, so I forget about them)

Rinse black beans. 

Open the can. Drain the juice. Rinse the beans with water two or three times. You can do this directly in the can, so you don’t have to dirty another dish.

Add everything together.

I use a Magnalite pot, because its big, and that’s what my mom told me to use, honestly. Use any big pot you have that’s not cast iron or non stick.

Pour in chicken broth, corn, black beans, Rotel, and jalapeños, and ground beef. Bring to a simmer and let it cook 30-45 minutes. 

Fix yourself a bowl. Top with your favorite toppings. Refrigerate the rest.

If you make half a recipe, you can use the other halves of the ingredients from the cans to make loaded nachos or burrito bowls at home!
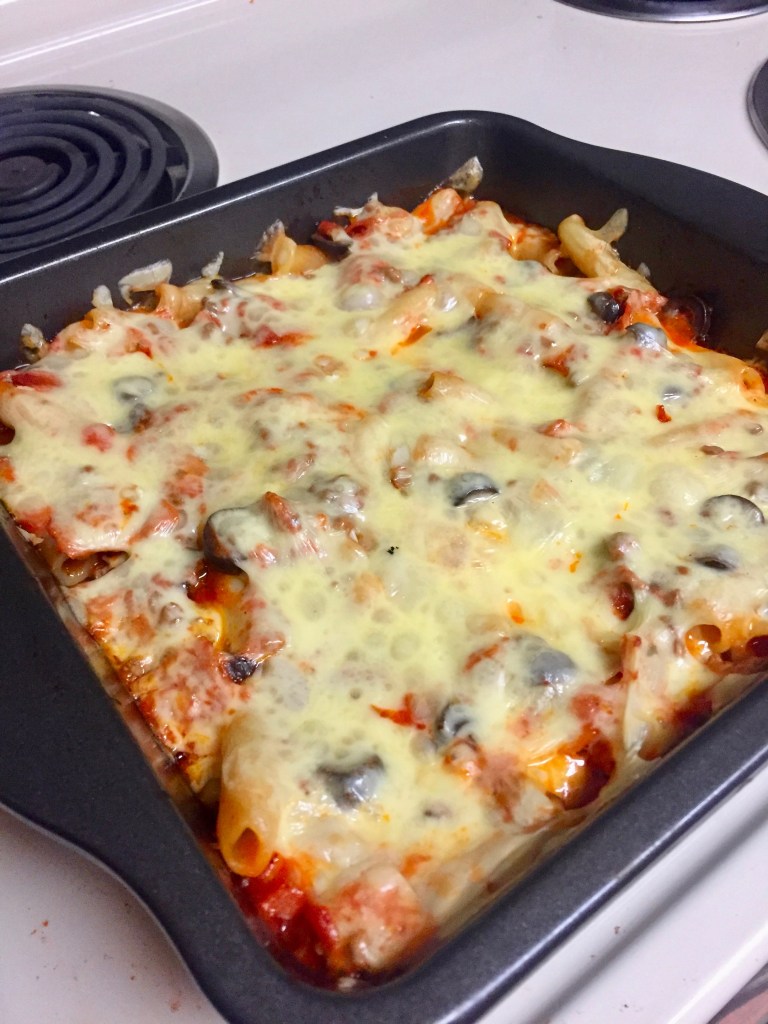

Pizza Pasta

  • 1lb ground beef
  • 8oz pasta (penne or ziti are my favorites, but you can use anything)
  • 1 jar red pasta sauce (aka spaghetti sauce)
  • 4 oz pepperoni (use small pepperonis or quarter regular size ones)
  • 16 oz shredded mozzarella cheese
  • 1 can diced black olives
  • optional diced jalapeños 

Directions:

Preheat the oven to 350 degrees

Season the ground beef any way you want.

You can do an onion powder, garlic powder, salt, pepper, oregano blend. Or just salt and pepper. Your choice. 

Cook the meat. Drain the grease.

Cook the pasta according to the instructions.

Drain the pasta. 

Combine the pasta, cooked beef, sauce, pepperoni, olives, and jalapeños in a pot on a medium heat level. Simmer. You can do this in the same pot you cook the pasta in, if its big enough. Once everything has warmed together, add about half of your cheese to the mixture and stir. Next, pour it into a 13×9 inch glass or nonstick pan. Top with the remaining cheese. Put the pan in the oven. Bake until cheese to nice and melty- that’s about 30 minutes. 

Let it cool about 5 minutes. Serve it up!

Tell what you’d change, add, or just how you liked it!

My #1 Skincare tip (FOR MEN AND WOMEN)

A proper skincare is the key to healthy skin that ages well. I have my own skincare routine, but since every person is different, I didn’t feel the need to share. Some people wear makeup daily. I don’t. Some people have dry skin. I have combination skin. There are several factors that can determine what you incorporate into your routine, so I thought, “What’s the point?” But, then I found the best tip I’d ever heard, and I want to tell everyone. It’s the best because it is easy and…it’s FREE.

The tip? Wash your face.

You’re thinking, “Wow, Chloe. Rude! Of course I wash my face.” Let me ask you something, though. For how long are you washing your face? Ten seconds? Fifteen seconds? Five, seconds? When you’re washing your face in the morning or at  night, you should be doing it for at least 60 seconds. Now, I didn’t make this up. I actually found this on the interwebs (this is my pet name for the internet) a few weeks ago. This method was popularized by Nayamka Roberts-Smith of LABeautyologist. You can find her on Twitter and YouTube, and she tells her followers exactly why we clean our face this way. Feel free to check out her page, but I’ll break down her #60SecondRule for you here and add a few extra face washing dos and don’ts.

The Cleanser

You should be cleansing, not just washing with anything.

To cleanse, you’ll need a cleanser, not just bar soap. Some types of cleansers are gel, cream, foam, oil, and micellar. That sounds like too many to choose from, but pick one out and try it. I would stick with gel or foam, and oil is great, too, unless you have oily skin. You can stop by Walmart or Sephora, or shop online. I use Fresh Soy Cleanser. Other brands I like are St. Ives, Neutrogena, Yes to, Korres, and First Aid Beauty.

The Wash

Use your fingertips to rub the cleanser all over your face. With a 60 second cleanse, you’ll get everything from the crease of your nose to your hairline. I wash in three sections because it feels faster. Forehead, nose and cheeks, chin and sides. Each section for 20 seconds. Don’t forget, about under your chin and your neck, too!

The Water

You should always rinse your skin first with warm water before cleansing. This opens up the pores, so they’re ready to be cleaned out. If you wash your face in the shower, don’t put your face directly under the stream. From what I understand, the skin on your face is more sensitive than the rest of your body and pressure from the shower head is too much. It’s also a good idea to rinse after you’re done cleansing with a splash of cold water to close those pores.

In short, cleanse your face for 60 seconds or more, because it opens the pores and cleans them out more effectively than a shorter time frame.

These past few weeks, my skin has been looking better than ever! Try the 60 second rule, and share it with everyone you know. If you love people, you got to let them know!

Orientation v Life

LSU Paul M Hebert Law Center Class of 2022

Just like my career will marry my Pharm D. and JD, I want to marry my law school orientation to regular life. Usually, I would separate life and school posts, but I saw an opportunity to chronicle the experience for you. 

(For all my lawyers and law students, the title is just to be cute.)

Orientations are generally uneventful. You could even say they’re overwhelmingly boring. Mine was two days, 8am-4pm, and covered several topics, including presentations by the law library, campus police, and the health center. For a real life example, imagine a work orientation. “There’s the restroom, some desks, the break room, click through some online learning tools, and now watch someone else work for the rest of the shift.” Good times. I found it interesting how my law school orientation ended up oppositely for me. It reflected real life (useful) advice in multiple ways. That created an opportunity for me to share those ways with you. Whether you’re a fresh 1L, a recent high school grad, or just a person who wouldn’t mind a refresher on basic life advice, this post is for you. Let’s get to it!

  1. It’s going to be hard.

I think everyone knows this about law school and life. It’s hard. You have no clue just how difficult it will get. People, like mentors and parents, try to convey it to you, but there’s nothing like experiencing it. It’s like wading in a pool for the first time. You’re getting closer and closer to the deep end. The water is getting higher. Its getting closer to your chin, and suddenly you begin to float, and your feet don’t touch the bottom anymore, without you going under. You knew it would happen. Your friend told you how deep the pool is. You read the ‘8ft’ sign. But still, you’re a little shocked when it happens. You can turn around and go back to the shallow end, or you can swim forward. If you can swim, I’ll always advise you to swim forward. In other words, if you’re equipped with the basic skills, it’s always worth it to move forward and try something new. You gain experience as well as confidence. Next time, its not so hard. Maybe next time, you even try something even harder.

2. Take time for yourself.

This one was repeated several times by the upperclassmen. Make time to do what you like to do. You spend so much time in law school reading and writing and going to class. If you listen to professor’s suggestions, you should be busy with those things 45-60 hours a week. Real world people are busy working, taking care of others, running errands, grocery shopping, and more working. It’s so important to take time for yourself. Jog, if you like that. Dance, if you like that. Cook, if you like that. The upperclassmen suggested to take this time every day, even if you only get in thirty minutes.

They also suggested:

  • Shutting down at a certain time. Sitting with your nose in a book for hours is draining. Pick a daily time you shut that down and stick to it.
  • Take an entire day off. In addition to daily time for you, take an entire day. For me, it would be take an entire day not studying. For others, it might be taking off work. This includes no picking up an extra shift! You’ll feel better and look better. Trust me.

3. Be nice to each other. 

Easy to say, harder to do. Life and school get next level stressful. You can get overwhelmed, overworked, scared, and confused, all while your supposed to be continuing onward. It is tough, friends. You may not know this, but the way grades are set in law school makes it competitive. Only a certain percentage of students get As, and professors required to give at least a small percentage of Ds. This can turn libraries into boxing rings. People won’t share notes, will lie about assignments, and I’ve heard of people throwing away other’s notes. It can get wild!  But something that was conveyed to us at orientation was that it doesn’t have to be that way with our class. We are starting fresh, and we can be there for each other (at least be civil), instead of hoping someone cracks. Life is also this way. You can chose to lift up your friends, coworkers, and baristas, instead of tearing them down. Even when the pressure is high and your morale is low, you can still make that effort to be nice.

I hope these simple, yet effective points have reminded you how you can make tomorrow better than today for yourself and those around you. 

Comment and share one way you can apply one of these helpful hints TODAY!

Welcome!

I’m Chloe, a Pharm.D. pursuing her J.D., hence the title.

I am a 2018 Xavier College of Pharmacy graduate, and a current LSU Law student, class of 2022.

I’m writing this blog as I move through law school to commemorate my experiences and impart any wisdom I can.

Even though I’m in law school at the start of this blog, I will also post about two other topics, including life and faith. There will be plenty life lessons (and puns) anyone at any age can relate to or look forward to. From beauty to sabbath days to study tips, we’ll move through many different topics.

 As one of my favorite actors, Levar Burton, says, “but you don’t have to take my word for it.” Sit back, subscribe, and see for yourself.

Design a site like this with WordPress.com
Get started